/qa/qaAdmin commands for NotQuestscreatecreateCreate a new quest.LostRelic<questName>Unique identifier for the new quest.AcceptstextExampleLostRelic
Give it a name and description players will understand:
/qa/qaAdmin commands for NotQuestsediteditOpens subcommands for editing a specific quest.LostRelic<quest>Identifier of the quest to edit; use /qa list to see available quests.Acceptsquest nameExampleLostRelicdisplayNamedisplayNameQuest display name shown in quest lists, quest previews, GUIs, and chat messages. Supports MiniMessage formatting.setsetSets the selected quest's display name shown in GUIs, previews, and chat.Lost Relic<display-name>New quest display name. Supports spaces and MiniMessage formatting.AcceptstextExampleLost Relic
/qa/qaAdmin commands for NotQuestsediteditOpens subcommands for editing a specific quest.LostRelic<quest>Identifier of the quest to edit; use /qa list to see available quests.Acceptsquest nameExampleLostRelicdescriptiondescriptionQuest description shown in quest previews, GUIs, and chat. Supports MiniMessage formatting.setsetSets the selected quest's description text shown to players.The blacksmith lost an old crate near the ruins. Follow the marker and inspect it.<description>Sets the new description of the Quest.AcceptstextExampleThe blacksmith lost an old crate near the ruins. Follow the marker and inspect it.
For this tutorial, use an Interact objective. It completes when the player right-clicks the block at your chosen location:
/qa/qaAdmin commands for NotQuestsediteditOpens subcommands for editing a specific quest.LostRelic<quest>Identifier of the quest to edit; use /qa list to see available quests.Acceptsquest nameExampleLostRelicobjectivesobjectivesManages objectives on this quest or parent objective.addaddAdds a new objective to the selected quest.InteractInteractCounts player left-clicks or right-clicks on a configured block or location.1<amount>Amount of interactions neededAcceptsnumber or numeric expressionExample1world<world>World containing the block or location the player must interact with.Acceptsworld nameExampleworld100<x>X coordinate of the block or location the player must interact with.Acceptswhole numberExample10064<y>Y coordinate of the block or location the player must interact with.Acceptswhole numberExample64200<z>Z coordinate of the block or location the player must interact with.Acceptswhole numberExample200--rightClick--rightClickCount right-clicks of the location.--maxDistance--maxDistanceMaximum distance allowed from the target location or NPC.Acceptswhole number2Value for --maxDistanceMaximum distance allowed from the target location or NPC.Acceptswhole numberExample2--cancelInteraction--cancelInteractionMakes it so the interaction will be cancelled while this objective is active--taskDescription--taskDescriptionCustom task text shown to players for this objective instead of the default description.AcceptsMiniMessage text"Inspect the lost crate"Value for --taskDescriptionCustom task text shown to players for this objective instead of the default description.AcceptsMiniMessage textExample"Inspect the lost crate"
What this means:
1 - the player must interact once.
world 100 64 200 - the block or spot to interact with.
--rightClick - only right-clicks count.
--maxDistance 2 - the player must be close enough.
--cancelInteraction - prevents the click from also opening or changing the block.
--taskDescription - the text players see for this objective.
The objective now has a real target, but the marker beam is a separate setting. Set it to the same place:
/qa/qaAdmin commands for NotQuestsediteditOpens subcommands for editing a specific quest.LostRelic<quest>Identifier of the quest to edit; use /qa list to see available quests.Acceptsquest nameExampleLostRelicobjectivesobjectivesManages objectives on this quest or parent objective.editeditOpens subcommands for editing a specific objective on the selected quest.1<objectiveId>Objective ID shown by this quest's objectives list.Acceptsobjective idExample1locationlocationManages the guiding marker shown while players track this objective.setsetSets this objective's guiding marker location and turns it on.world<world>World where this objective marker should point.Acceptsworld nameExampleworld100<x>X coordinate where this objective marker should point.Acceptswhole numberExample10064<y>Y coordinate where this objective marker should point.Acceptswhole numberExample64200<z>Z coordinate where this objective marker should point.Acceptswhole numberExample200
If you are standing exactly where the marker should point, you can use this instead:
/qa/qaAdmin commands for NotQuestsediteditOpens subcommands for editing a specific quest.LostRelic<quest>Identifier of the quest to edit; use /qa list to see available quests.Acceptsquest nameExampleLostRelicobjectivesobjectivesManages objectives on this quest or parent objective.editeditOpens subcommands for editing a specific objective on the selected quest.1<objectiveId>Objective ID shown by this quest's objectives list.Acceptsobjective idExample1locationlocationManages the guiding marker shown while players track this objective.setsetSets this objective's guiding marker location and turns it on.herehereUses your current in-game block position as the guiding marker location.
You can also aim at the block and use:
/qa/qaAdmin commands for NotQuestsediteditOpens subcommands for editing a specific quest.LostRelic<quest>Identifier of the quest to edit; use /qa list to see available quests.Acceptsquest nameExampleLostRelicobjectivesobjectivesManages objectives on this quest or parent objective.editeditOpens subcommands for editing a specific objective on the selected quest.1<objectiveId>Objective ID shown by this quest's objectives list.Acceptsobjective idExample1locationlocationManages the guiding marker shown while players track this objective.setsetSets this objective's guiding marker location and turns it on.lookinglookingUses the block you are looking at as the guiding marker location.
Check that the marker is saved:
/qa/qaAdmin commands for NotQuestsediteditOpens subcommands for editing a specific quest.LostRelic<quest>Identifier of the quest to edit; use /qa list to see available quests.Acceptsquest nameExampleLostRelicobjectivesobjectivesManages objectives on this quest or parent objective.editeditOpens subcommands for editing a specific objective on the selected quest.1<objectiveId>Objective ID shown by this quest's objectives list.Acceptsobjective idExample1locationlocationManages the guiding marker shown while players track this objective.statusstatusShows whether this objective has a saved guiding marker and whether it is enabled.
Preview the marker before giving the quest to players:
/qa/qaAdmin commands for NotQuestsediteditOpens subcommands for editing a specific quest.LostRelic<quest>Identifier of the quest to edit; use /qa list to see available quests.Acceptsquest nameExampleLostRelicobjectivesobjectivesManages objectives on this quest or parent objective.editeditOpens subcommands for editing a specific objective on the selected quest.1<objectiveId>Objective ID shown by this quest's objectives list.Acceptsobjective idExample1locationlocationManages the guiding marker shown while players track this objective.previewpreviewShows this objective's saved guiding marker to you for a short preview.
/q/qPlayer commands for NotQueststaketakeTakes or accepts a quest.LostRelic<questName>Identifier of the quest you want to start.Acceptsquest nameExampleLostRelic
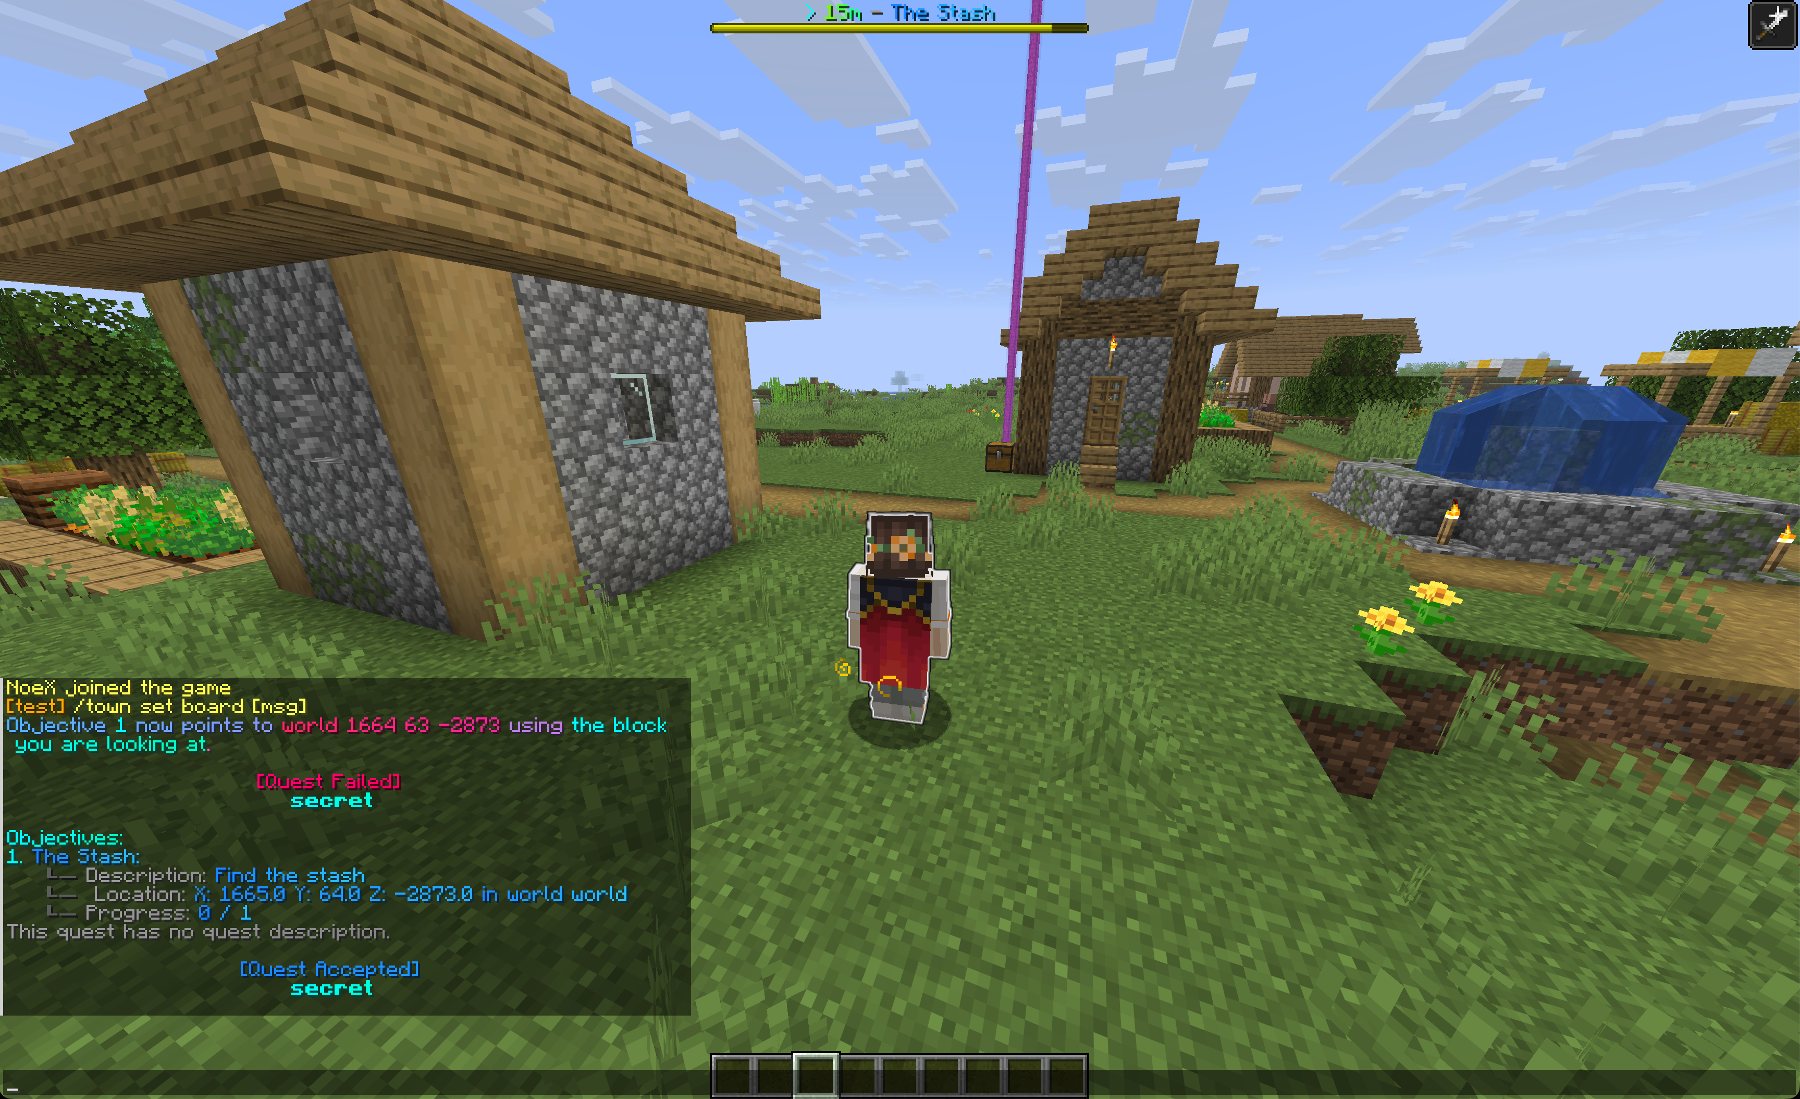
Walk away from the target location. If everything is set up correctly:
the objective appears in the actionbar or bossbar,
the marker beam points toward the saved location,
the bossbar compass shows whether the marker is ahead, left, right, or behind,
the distance goes down as you get closer.
Right-click the target block to complete the objective.
For a nicer player flow, attach the quest to an NPC or armor stand:
/qa/qaAdmin commands for NotQuestsediteditOpens subcommands for editing a specific quest.LostRelic<quest>Identifier of the quest to edit; use /qa list to see available quests.Acceptsquest nameExampleLostRelicnpcsnpcsManages NPCs attached to this quest or conversation.addaddAttaches the selected quest to an NPC or armor stand quest giver.rightClickSelect<npc>ID of the Citizens NPC to whom the Quest should be attached.AcceptsNPC selector such as citizens:1, fancynpcs:<id>, none, or rightClickSelectExamplerightClickSelect
After running the command, right-click the NPC that should offer the quest.
This tutorial uses objective location markers. They are tied to the objective the player is tracking and are usually the best choice for guiding players.
The separate Beam action is for manually spawning or removing a named beam from rewards, triggers, or saved actions. Use that when you want a custom effect, not basic quest navigation.
Set its marker with location set here, location set looking, or exact coordinates.
Enable visual.objective-tracking.location-compass.enabled if you want the bossbar compass.
Use location preview before players try the quest.
Test the quest with /q/qPlayer commands for NotQueststaketakeTakes or accepts a quest.LostRelic<questName>Identifier of the quest you want to start.Acceptsquest nameExampleLostRelic.